Setting up your Journeys and Making them Active
This is the Final step when the Journey content has been added and now ready to be assigned and Active , as you can see on the image below Click on the Settings tab adjacent to Create

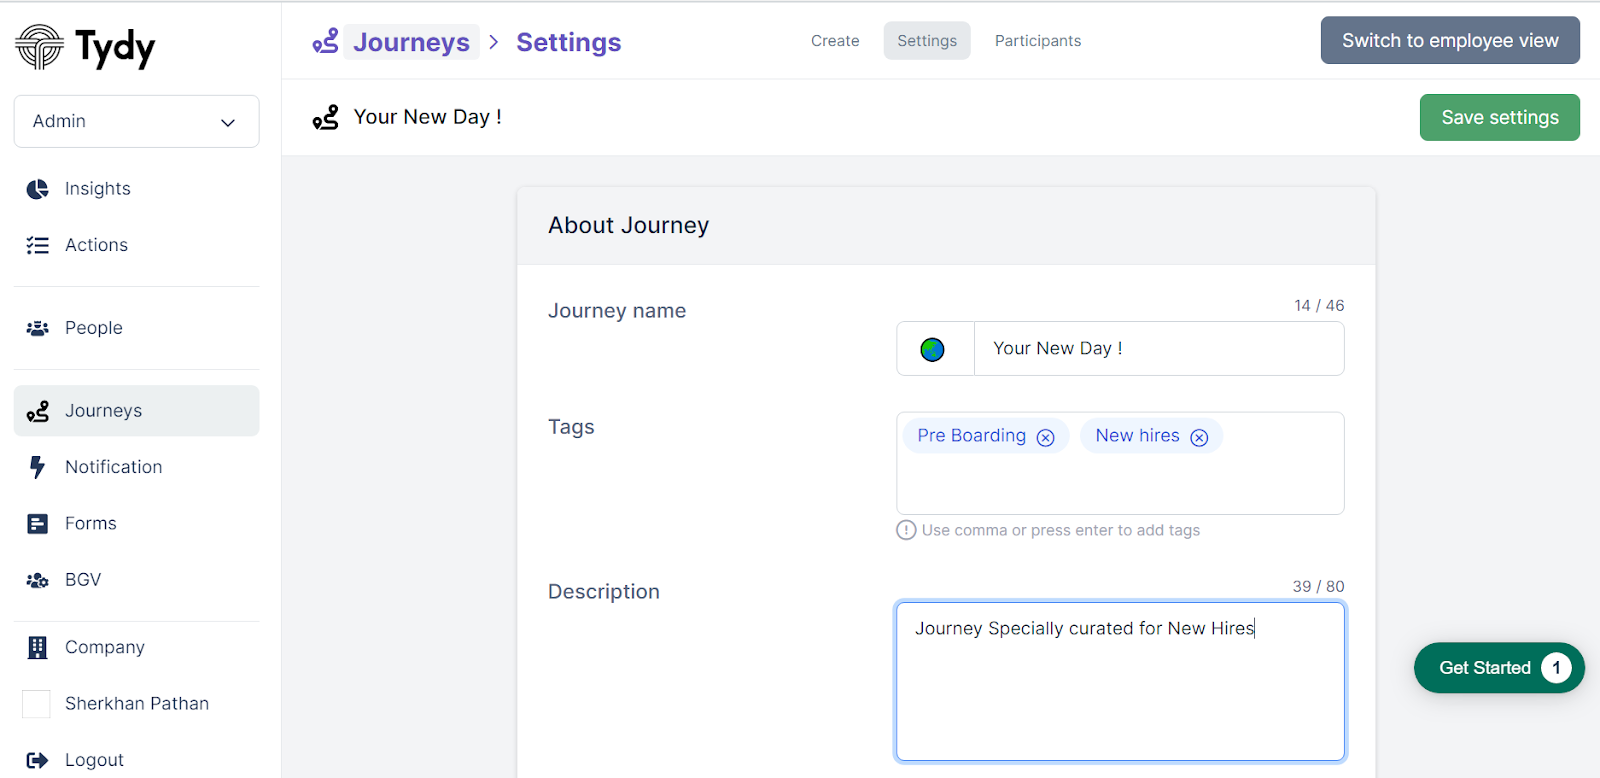
About Journey
On settings Page you will see to set up your journey name with Tags and Description
Tags can be anything to represent a particular journey for eg; in the image below the Tags are Pre - Boarding and New hires which represents that this journey is for New hires on Pre boarding stage.
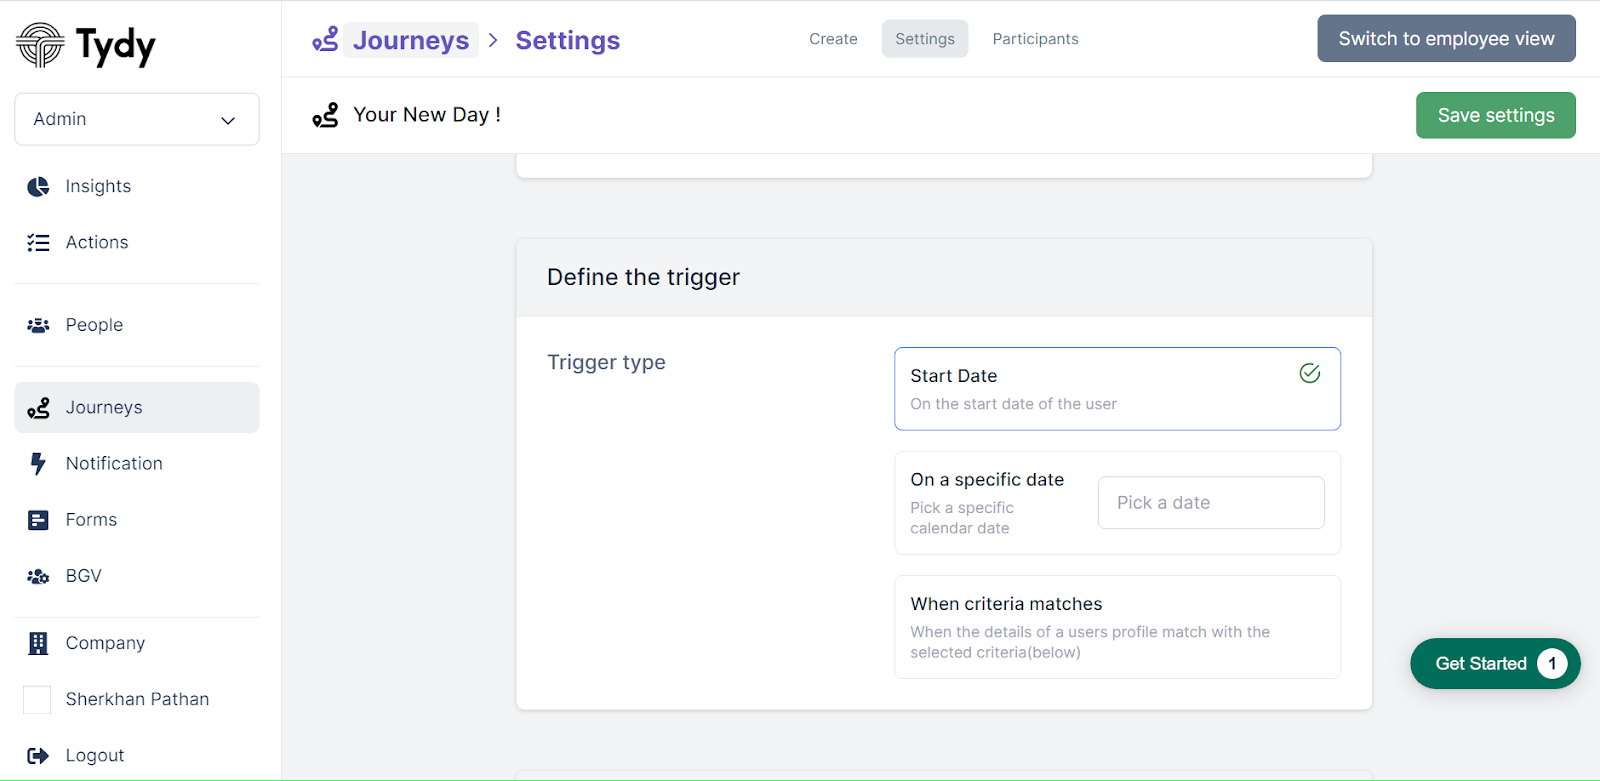
Define the Trigger
This is the option where you can set the Time when you want a particular journey to trigger , it can be on the Start Date of the user or Any Specific Date or it can be when the Criteria matches.
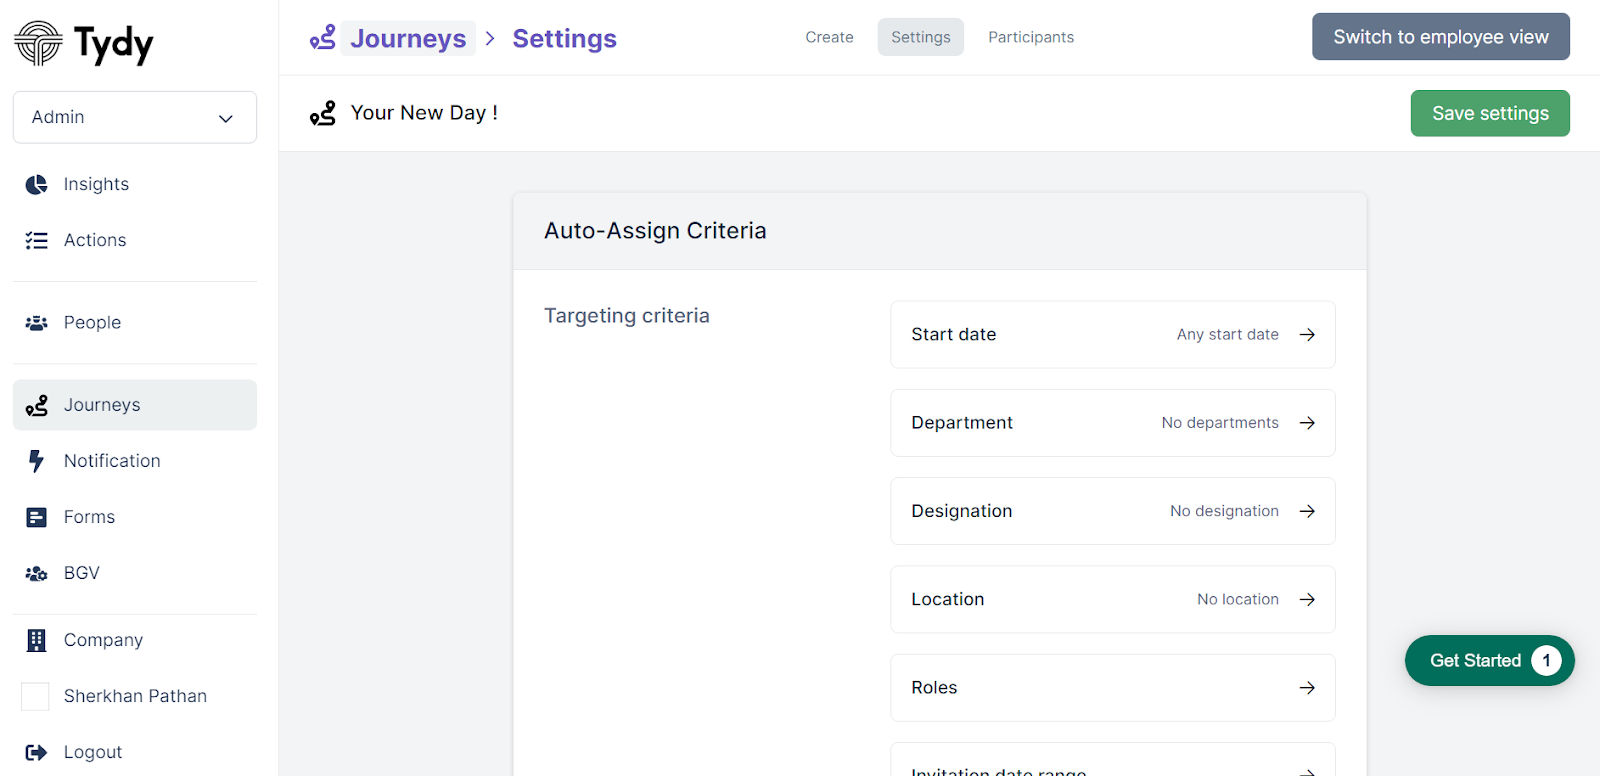
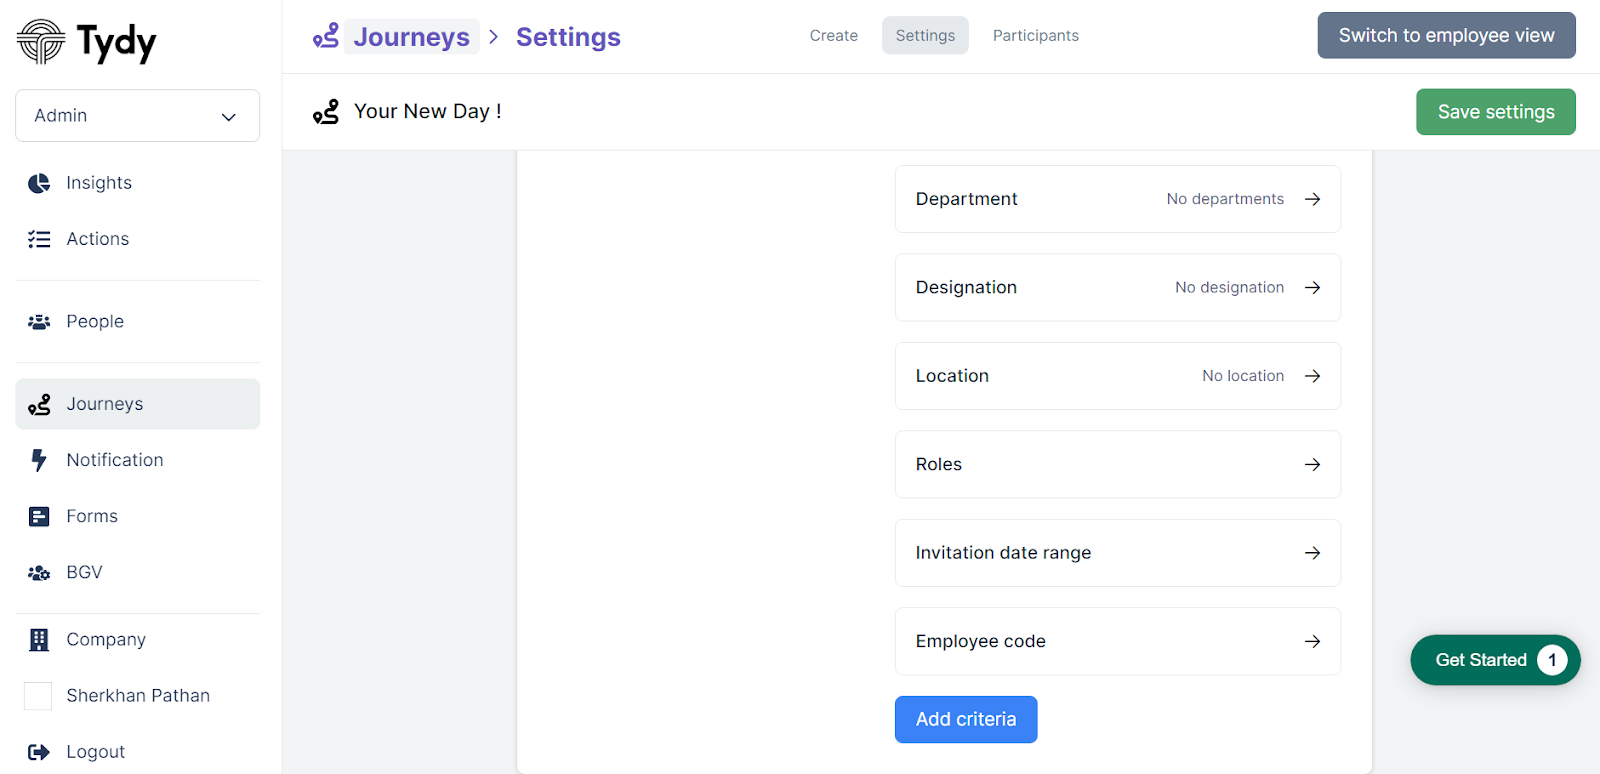
Auto Assign Criteria
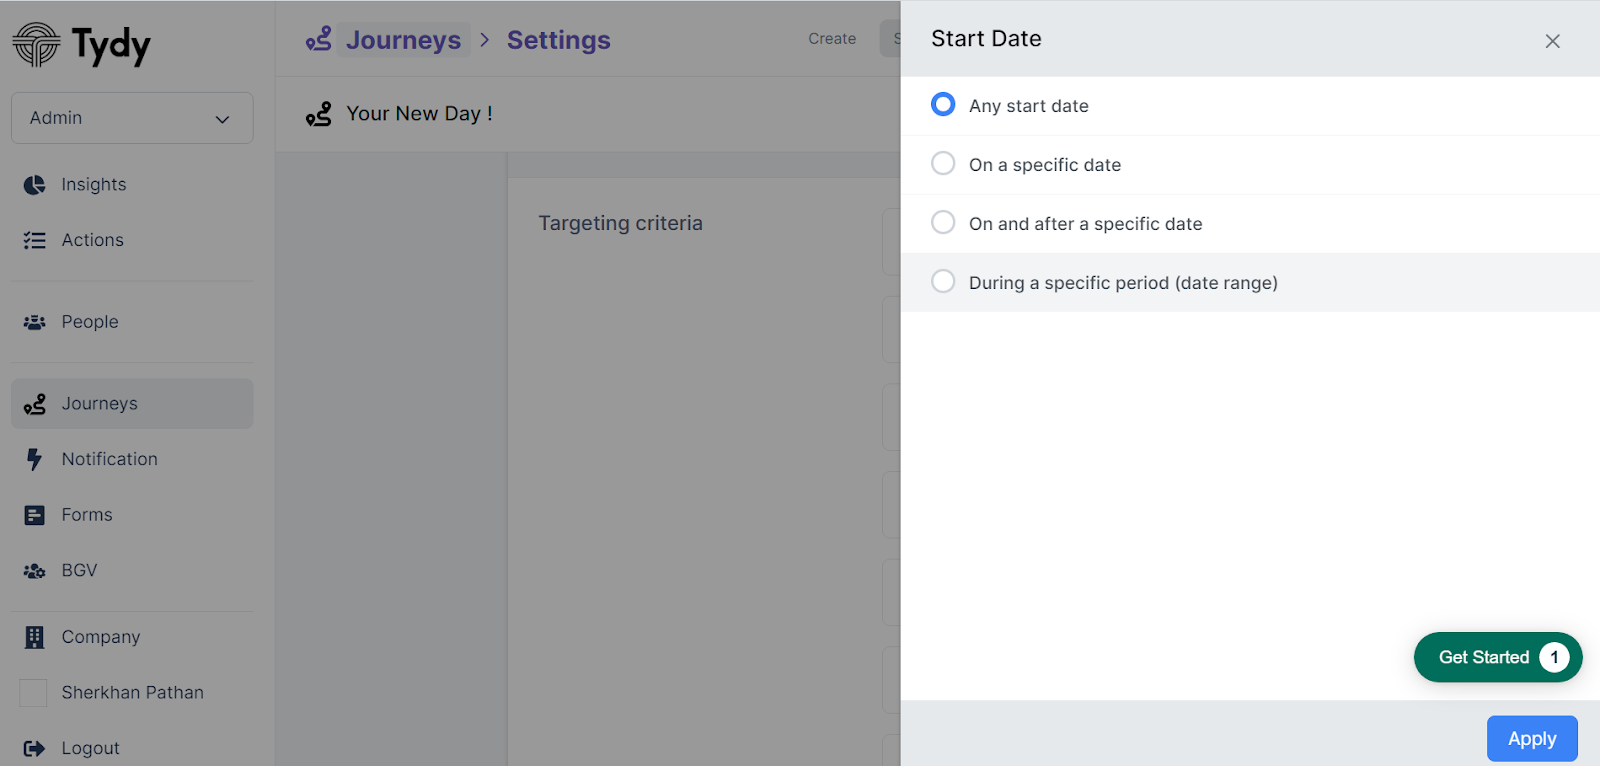
Auto Assign has various targeting Criteria such as Start Date for if you want to select any specific date for your journey , you can also select the particular department for this journey or the particular Location .

When all being done you can activate the Settings for your journey by making it Active and if you want to track the engagement of journeys to appear on analytics view you can make that section active
