Related Articles
Adding Content : Documents
Content can be added to the Personalized journeys in the form of Documents. Documents can be used to Provide Information or to Give instructions, with rich relevant media, which can also be in the form of PDF / E books. You can also Share a video to ...
Adding your First Content
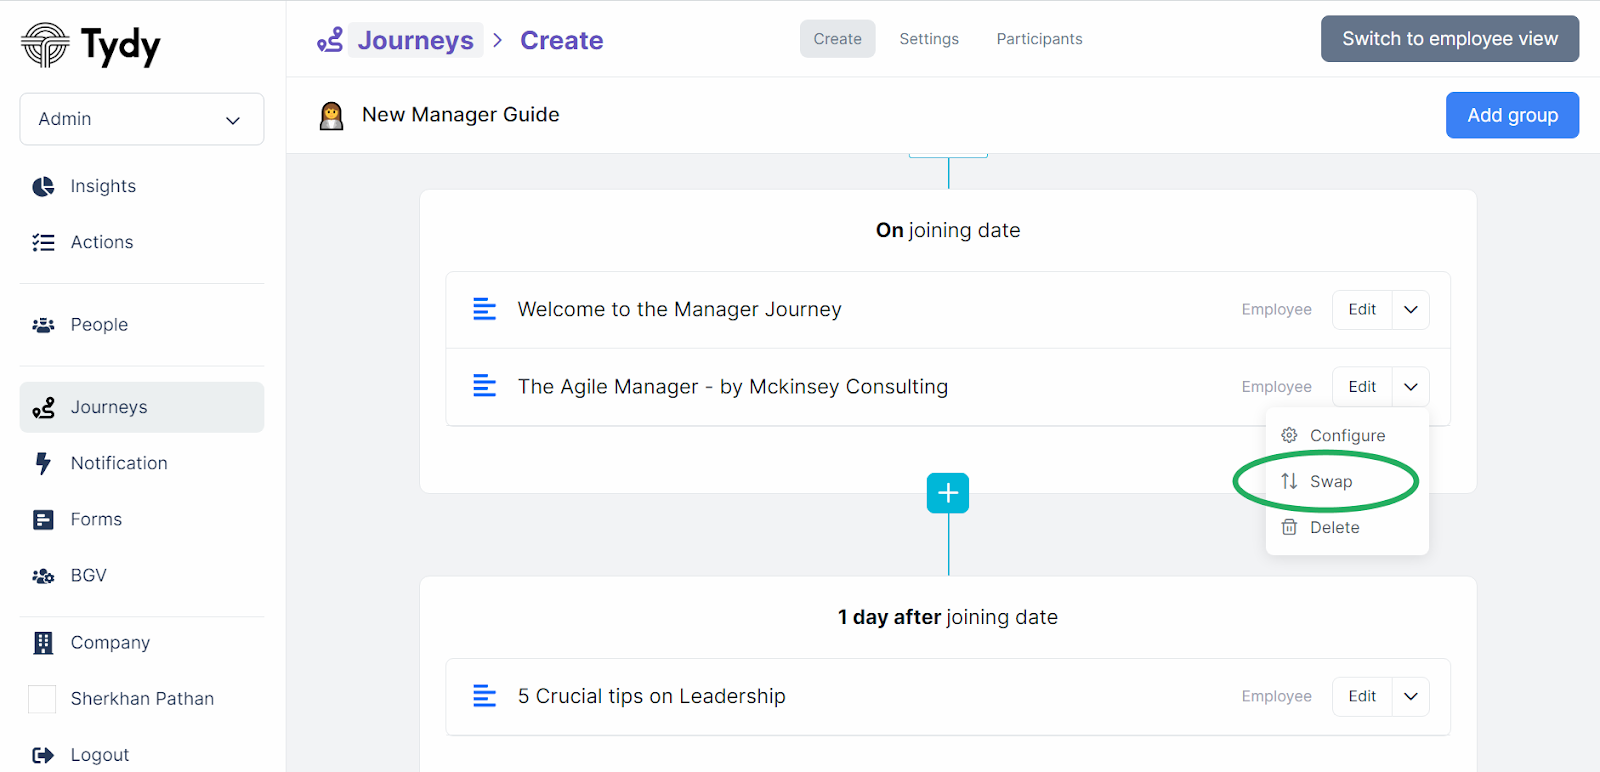
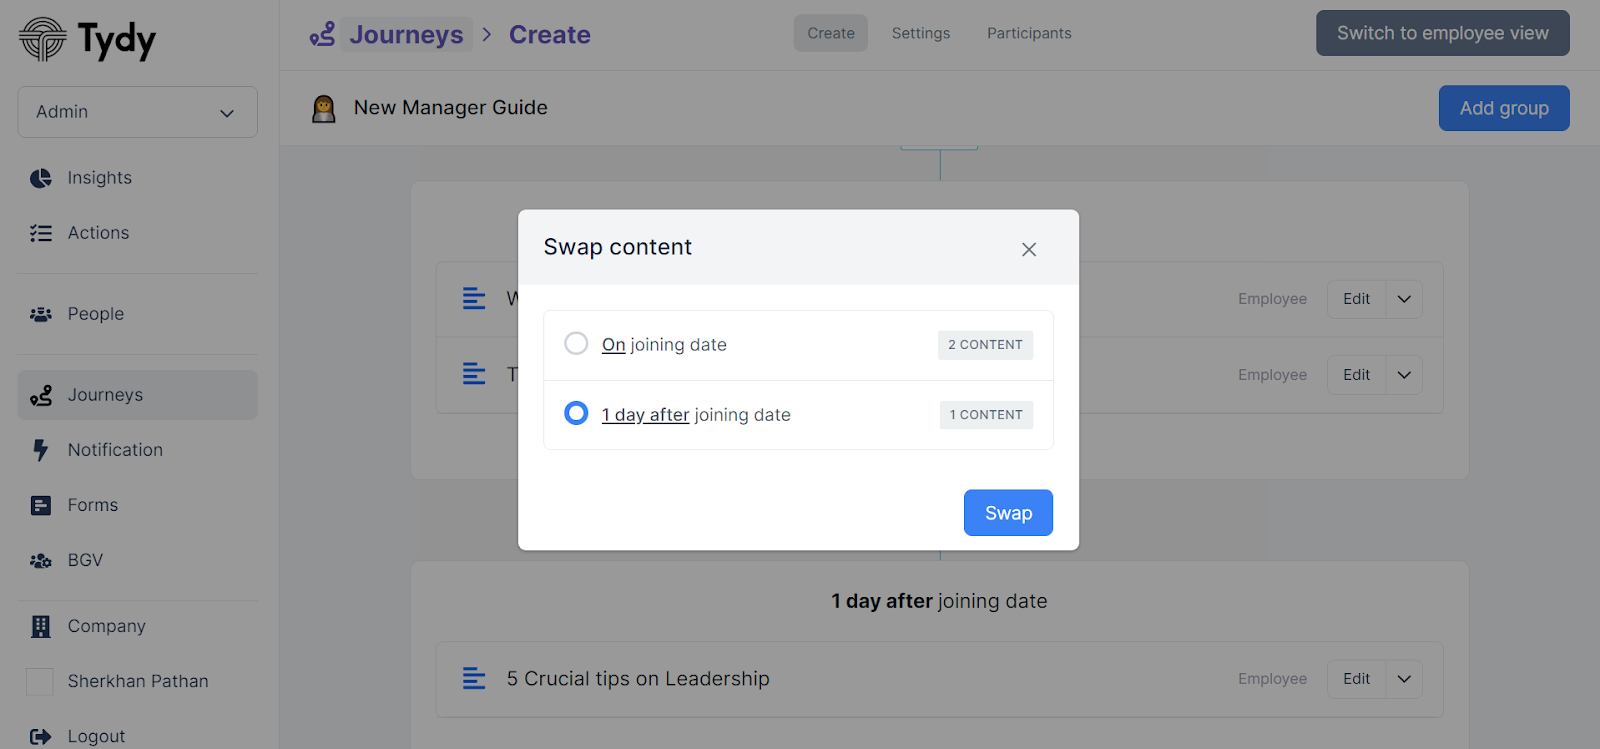
Once you have added the event trigger and name of your specific journey, you can begin adding the relevant content to your journey which can be anything from Questions, Forms ,Tasks, Documents upload etc. Now you will have to click on ‘Add Group’ ...
Completing and Editing your profile
Updating your Profile Photograph You are now on your homepage , in order to set your profile please select the profile section where you can start by uploading the profile photo by clicking the round icon (name initials at left of home page) as shown ...
Adding Content in the Form of Questions
You can also add Pulse questions to you the personalized journey, Journeys in the form of questions can be added to know the feedback from candidates/employees thereby creating an Interactive experience. After clicking on the Create New tab it lets ...
Video tutorial on crafting a journey, adding content, and configuring settings
Here's a video tutorial explaining the diverse features of journeys and demonstrating how to add content and publish your journeys. For additional information, contact us at support@tydy.it !