Adding Content in the Form of Questions
You can also add Pulse questions to you the personalized journey,
Journeys in the form of questions can be added to know the feedback from candidates/employees thereby creating an Interactive experience.
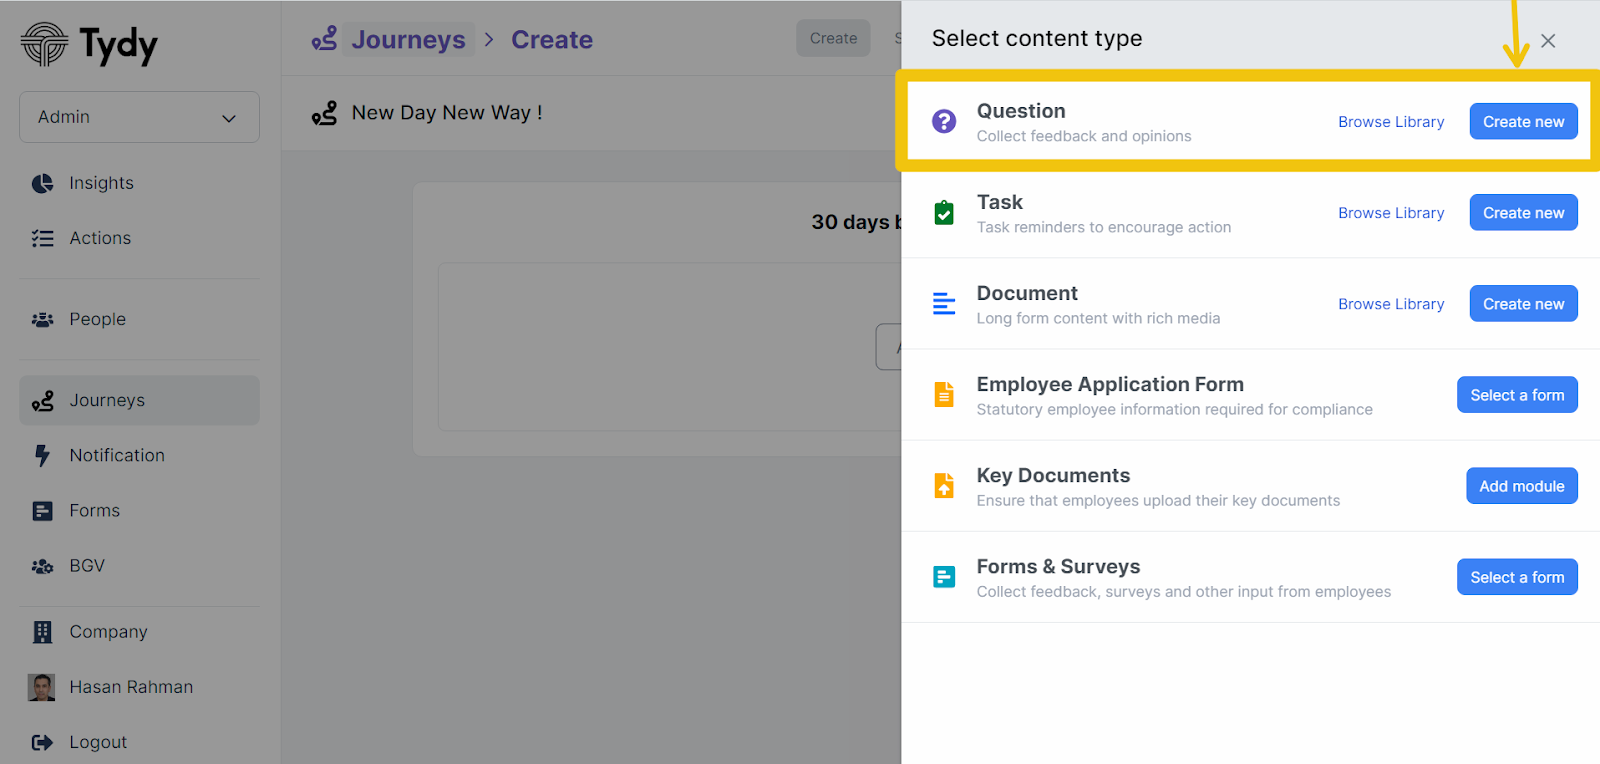
After clicking on the Create New tab it lets you add the Question at the space
‘Add Question here’
The arrow marking on the image below shows Add Cover which lets you add the Image to your Question
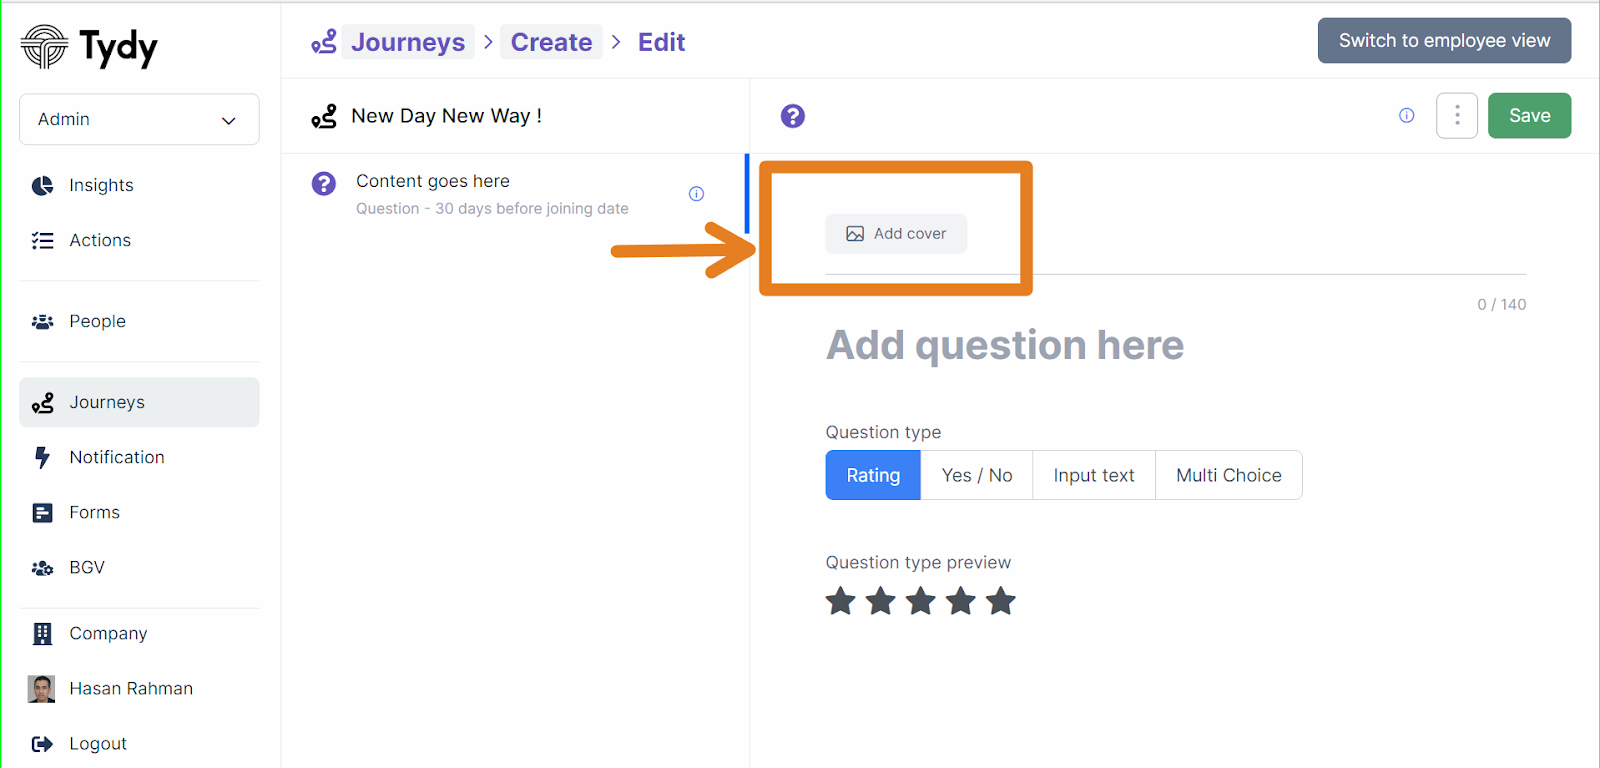
You can set the expected answers from the candidate in 4 ways:
Star Rating: The candidate gets to rate from the stars available (5 or 10)
Yes/No: The candidate gets to choose either YES or NO as an answer
Input Text: The candidate gets to type the answer in text format
MultiChoice: The candidate gets to choose from the options available.
You can refer to the image below.
Related Articles
Adding Content : Documents
Content can be added to the Personalized journeys in the form of Documents. Documents can be used to Provide Information or to Give instructions, with rich relevant media, which can also be in the form of PDF / E books. You can also Share a video to ...Adding your First Content
Once you have added the event trigger and name of your specific journey, you can begin adding the relevant content to your journey which can be anything from Questions, Forms ,Tasks, Documents upload etc. Now you will have to click on ‘Add Group’ ...Adding Forms
In the Previous section we learnt about Creating Forms and perform form Settings. Over here we will look at how to add the form as a part of journeys for new hires as well as existing employees. Login to Tydy as admin and select Journeys. Select the ...Video tutorial on crafting a journey, adding content, and configuring settings
Here's a video tutorial explaining the diverse features of journeys and demonstrating how to add content and publish your journeys. For additional information, contact us at support@tydy.it !Editing Added Content
Journeys can be edited as per the requirements ,To edit journeys login to Tydy with an admin account and Go to Journeys In order to edit a particular content, select Edit next to the content, as you can see below in the image below. Edit the content ...